My Builds: planning a costume end to end
Break a costume into pieces with a budget, plan the tasks back from your con date, keep your references, and log progress photos as you go.
My Builds is the project side of the Cosplay Realm. The Workshop is where you make the pieces; a build is where you decide what the pieces are, what they cost, and whether you will finish before the con.
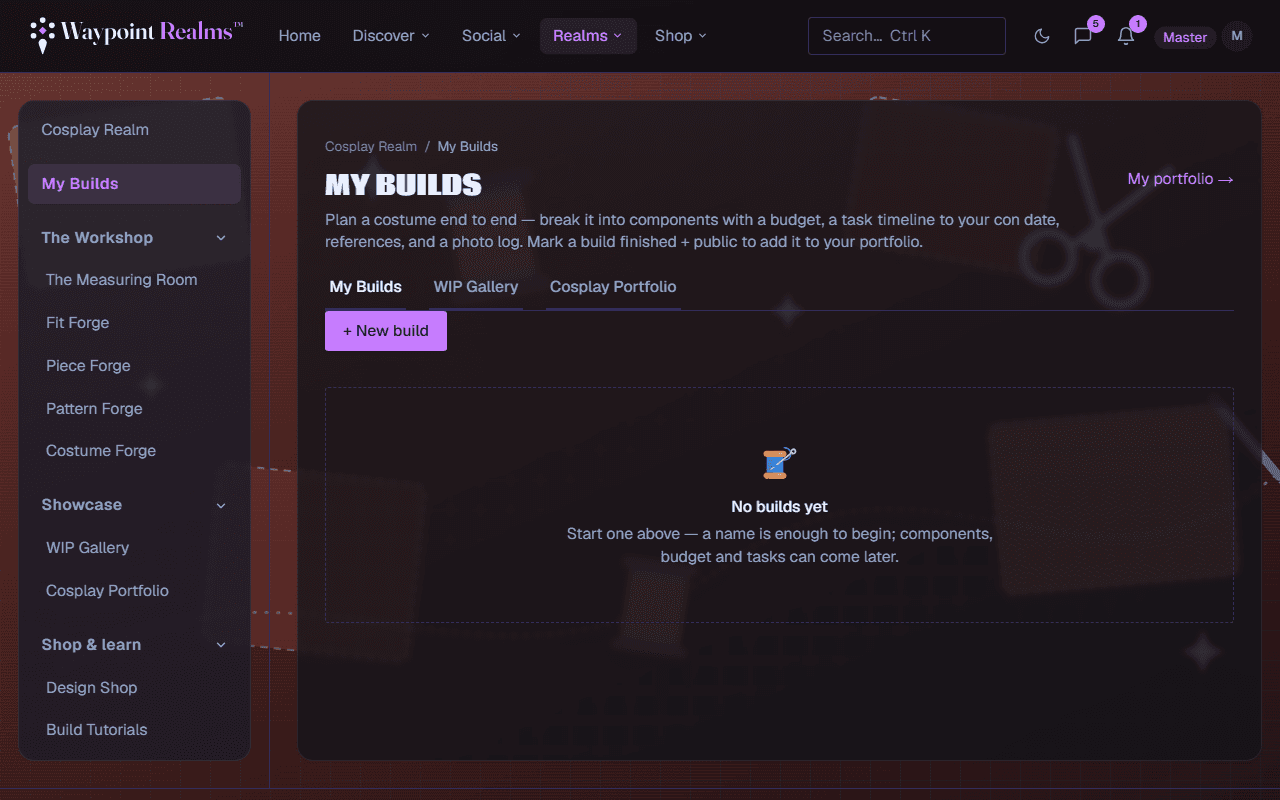
Starting a build
+ New build asks for a title, and optionally the character, the series, the con and its date, and a rough budget for the whole costume. Edit details on the build changes any of them later. Delete build removes it with its pieces, tasks, references and photos; designs and costumes you made for it stay in your library.
Ideas for later
Not ready to plan it yet? Save as an idea instead of Create build. An idea keeps the character, the series and a rough budget, and you can add references and pieces to it like any build. Ideas sit in their own list under your builds, and they stay out of your con reminders, your calendar and your home page.
When you have a con in mind, press Start planning, on the list or on the idea itself. It becomes a build in planning with everything you saved, and the con and date are the next thing to fill in. The build's pieces show your rough budget beside the estimates and what you have spent.
What a build holds
Pieces, with a budget
Break the costume into the things you actually have to make or buy — helmet, chest, undersuit, boots, wig — with an estimate against each. Edit a piece to add its material, quantity, where it comes from, and what you actually spent. A bought piece moves from to buy to ordered to arrived, and the list can show only what is still to buy or on its way. The foot of the list totals the estimate and what you have spent so far.Wig, makeup and lenses, by kind
Give a piece a kind — costume, armour, prop, wig, makeup, lenses or accessory — and the list can show one kind at a time. A wig records its colour, length and styling notes; makeup a list of products and shades, one a line with the shade after a comma. Lenses record a prescription, how many hours you can wear them, and notes — and those stay yours alone, even when the build is public.Tasks, worked back from the con
Give the build a con date and Plan back from the con adds ten steps, from gathering references twelve weeks out to packing the day before, each dated back from the con. They move when the con date does; a date you change by hand stays where you put it. Add your own, edit or remove any of them, and reorder tasks that share a date. A task past its date is marked late, and one due after the con says so.References
Upload or paste images onto the build's reference board, each with a caption and a category — costume, prop, wig & makeup, or pose. You can also add links; a link's title and preview image are read once when you add it, and nothing is copied or re-hosted. To clip from other sites, use Clip references from the web under the board. On a computer, drag the Clip to Waypoint button to your bookmarks bar and press it on any page. On a phone with Waypoint Realms on your home screen, Share a page or a picture's link to Waypoint Realms and choose Add it to a cosplay build's references. Either way you pick the build, and the picture you clipped becomes the reference's preview.A photo log
Add progress shots under Photos (Log progress at the top of the build jumps there). Credit a photographer, editor, makeup or wig artist by name or @username, and tick AI-generated or AI-edited if that applies. Any photo can be made the build's cover. Your photos from every build fill your WIP Gallery.Time
Start the timer on the whole build, a piece or a task, and stop it when you put the tools down. It runs on our side, so a timer started on your phone is still running on your computer. One timer runs at a time; if it is on another build, the panel says which. Time you forgot to start can be logged afterwards in hours and minutes, on the day you did it. The panel totals the build and each piece and task. A timer left running for more than a day is stopped at 24 hours.
Group cosplays
Cosplaying with friends? Start a group at the foot of My Builds: give it a name, the con and its date, and your own character. Each of you keeps your own build; the group shares a task list (assign a task to anyone in it), a board of reference links, and the con date.
Invite people by @username. Nobody is added to a group: each person gets an invitation and joins only by accepting it, choosing their own character and which of their builds the group follows. Once you're in, everyone sees how far along each linked build is — pieces and tasks done — but a private build's name and page stay private. You can leave a group at any time; its lead can remove people or end the group, and your build stays yours either way. A group can be linked to a Circle you belong to.
On your calendar
While a build is planning or in progress, its con day and every open task with a date appear on your calendar and in its calendar feed. You also get a notification the day before a task is due, and a countdown 30, 7 and 1 days before the con. Both can be turned off under Builds & cons in your notification settings.
Linking your con
If your con is an event in a Circle, link the build to it: Edit details, then search under Link to a con on Waypoint Realms. The build takes the event's name and start date, and if the event moves, the build, its planned tasks, the countdown and your calendar move with it. Who else is going on the build opens the con's page in the Cosplay Realm. It shows every public build linked to that con (who's bringing what) and who has said they're going. Unlink keeps the name and date as text. You can link only events you can see; a private Circle's events are for its members.
On the con's page you can plan the con itself. Under your days, choose which build you'll wear each day. Packing for the con then puts everything in one list: each build's own packing list, or, for a build without one, what its pieces imply. Something you need on two days appears once, with both days, and there's one repair kit for the trip. A tick there ticks the build's own packing list. Con checklist covers the rest: badge, confirmations, charger, water, cash.
Photoshoots at a con are cosplay sessions. Plan one on the session form (the con page's link opens it set to cosplay on the con's first day), then add it to the con. As the organizer, invite the photographer by @username. They get the usual session invitation and say yes by taking a seat. Until they do, only you and they see who was asked. Cosplayers add the builds they're bringing. After the shoot, each of you can credit the photographer on your own build in one press, and they accept it like any credit.
Gatherings are fandom meetups at a con, such as “Zelda gathering, Saturday 2pm, by the fountain”. Anyone who can see the con can add one on its page, and the con's Circle staff can mark it verified. I'm going puts it on your calendar. Gatherings lists every one at the cons you're going to (ones you RSVP'd to, linked a build to, or planned days for), filtered by fandom.
Finishing a build
Set a build's status to Finished and its visibility to Public and it becomes a portfolio piece automatically — no separate upload step. The finish date is recorded for you. It shows in your Cosplay Portfolio and in the Community view other members browse. The line at the foot of the build says where it stands.
Every build of a series or character
Each series and character has a page listing every public build of it, by every member: every Metroid build grouped by character, or every Samus build grouped by series. Open one from a public build (its series in the title, or Every … build), or from a group heading in the portfolio. Names are matched without regard to capitals, spacing or punctuation, so “Metroid” and “metroid:” are one series. As you type a character or series, names other members already use are suggested; picking one puts your build on the same page. A character page links to the same character in the Anime Atlas, where there is one.
Sharing a finished build outside Waypoint Realms
The Cosplay Realm is for members, but a finished build can be shown to someone who isn't one, such as a commissioner, a con judge or a friend. On a finished build, Make a share link gives you an address anyone can open without an account. It shows that build alone: its title, character and series, your name, its photos and its credits. Search engines are asked not to list it. Stop sharing turns the link off at once, and so does setting the build back from Finished. Members under 18, and anyone without a birthdate on file, can't make share links.
Following cosplayers
Follow a cosplayer from their portfolio; it is the same follow as anywhere on Waypoint Realms. Their finished builds and progress photos then appear under Following in the portfolio, and when one of them finishes a build, it shows in the Realms list on your home page for two weeks. Only their public builds appear.
Credits
Credits on a build name who made it with you: photographer, co-cosplayer, maker, commissioner, makeup, wig and editing, plus the location and the con. Credit the whole build or one photo. Type a name, or @username to credit a member.
A member credit is a request. They get a notification and answer on Your credits. Until they accept, only you and they can see it. Accepted credits show on the build with their name linked, and the build appears in the Credited view of their portfolio. They can take themselves off at any time. If they decline, the credit can't be sent again; only they can change their answer. Turn the notification off under Builds & cons.
Private until you say otherwise
Wear test, packing and repairs
Once a build is in progress, finished or on hold, three short lists appear under it.
- Wear test. Wear it before the con: sit, climb stairs, raise your arms, use the bathroom. Start from the usual tests adds that list. Tick each one, add your own, and use the pencil to note what went wrong (“the belt digs in”).
- Packing. Fill from the pieces lists every piece, what its kind needs besides (a wig cap and brush, a lens case and solution), and a repair kit. Press it again after adding pieces and it adds only what is missing.
- Repairs. Log a repair with what broke. The fix, the piece, the cost and the day are optional and can be added later with the pencil. The heading keeps the running cost of repairs, apart from what the pieces cost.
Your stash
Stash (linked from the top of My Builds) is what you already have: foam offcuts, filament, fabric, wigs, paint. Add each with how much is on the shelf. Tie foam, Worbla, filament or resin to its Piece Forge material and the unit is set for you (sheets, grams or millilitres), and the Cost tab uses yours before it prices any.
The ± button on an item records what changed: Used, Put back leftovers, Bought more, or Set to this after a count. Where it went lists each change, including which piece used what. Your stash is yours alone.
The Workshop, from the build
Each piece you are making has a Model › link that opens Piece Forge for that piece; it reads Model ✓ once the piece has a design. Assemble in Costume Forge › opens Costume Forge for this build. When the build has pieces you are making, an in the workshop panel lists each one's designs, Fit Forge exports and Pattern Forge drafts, with Fit › and Pattern › to start one, and any costume saved for the build. Only you see that panel.
Still stuck? Browse all help or contact us. To report someone or something, use the report action on the relevant profile, post, or session — it sends us the context automatically.